RaspberryPi RC car controlled through the WEB

This is my first raspberry pi controlled RC car using Webiopi. Have a look at the basic steps that I’ve gone through to make this car.
Materials used:-
-DC moto stepper (buy one from ebay)
-Raspberry pi with Webiopi installed (tutorial to install webiopi)
-rc car [get one from your stores]
-GPIO cables and wires
-AA batteries for car
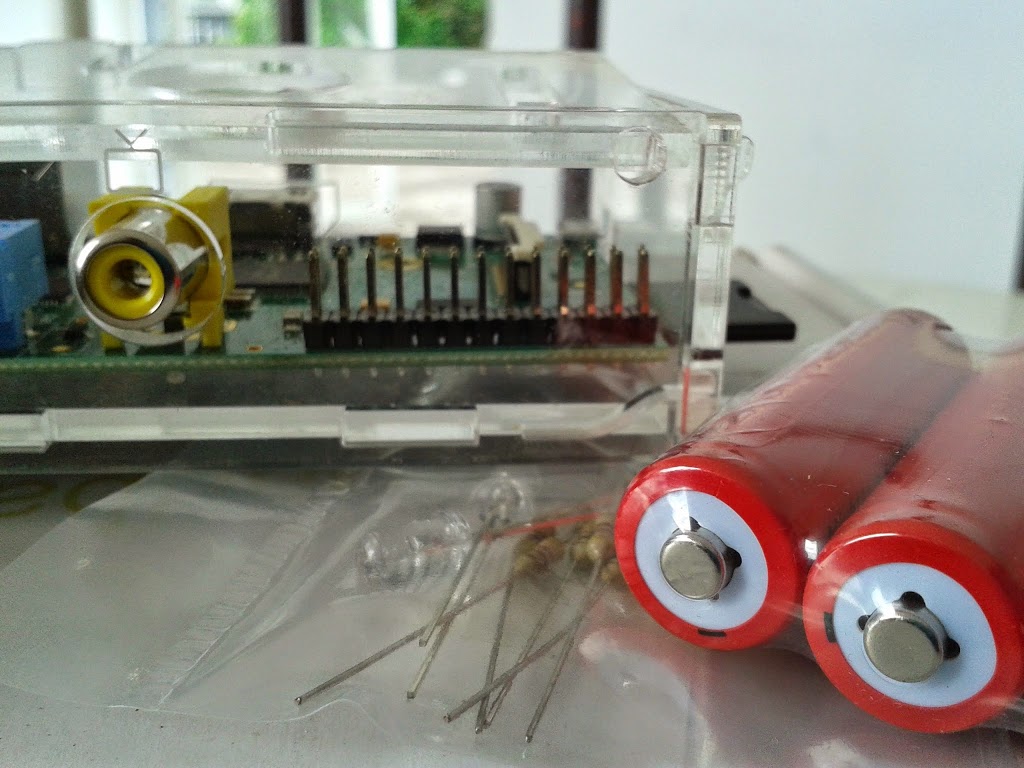
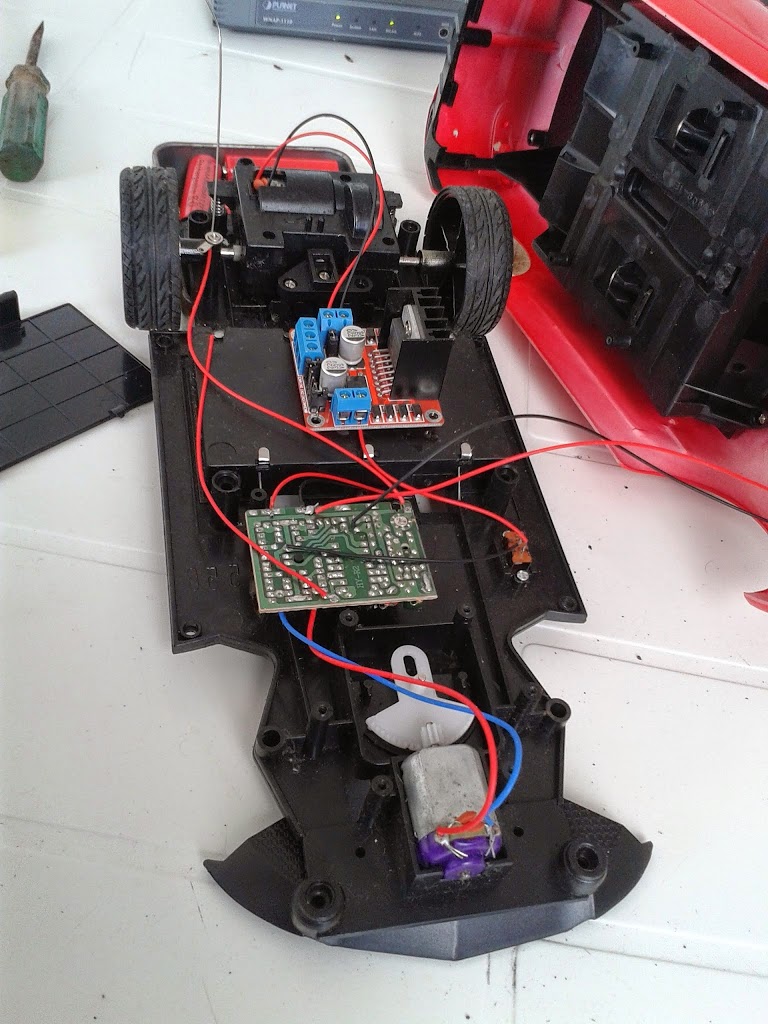
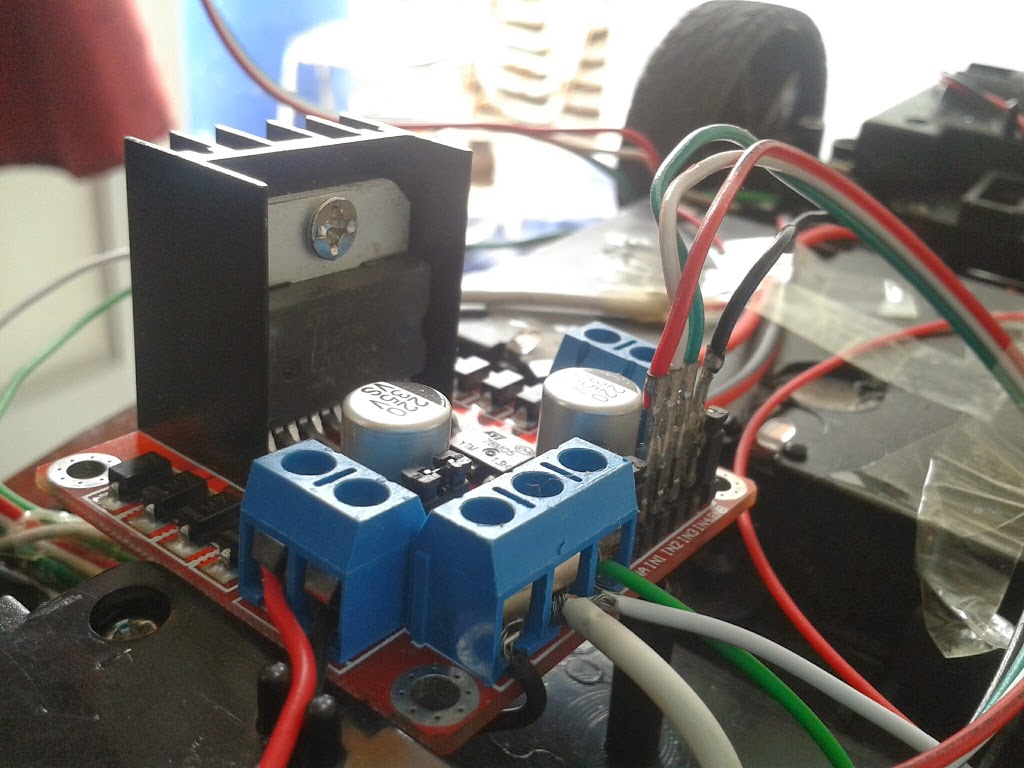
Motor relays pins explained:-
-the pins on the sides on the board is for the wires(+/-) of the motors
-the three pins are (+ve from battery of car, Ground of battery of car + Ground of RaspberryPi, 5V from raspberryPi)
-the remaining 4 pins [each pin control the motor (forward/backward and forward/backward)] and
remember to put the same pin into the GPIO pins on the raspberry pi.
A few pictures about the rc cars and the wires used:-
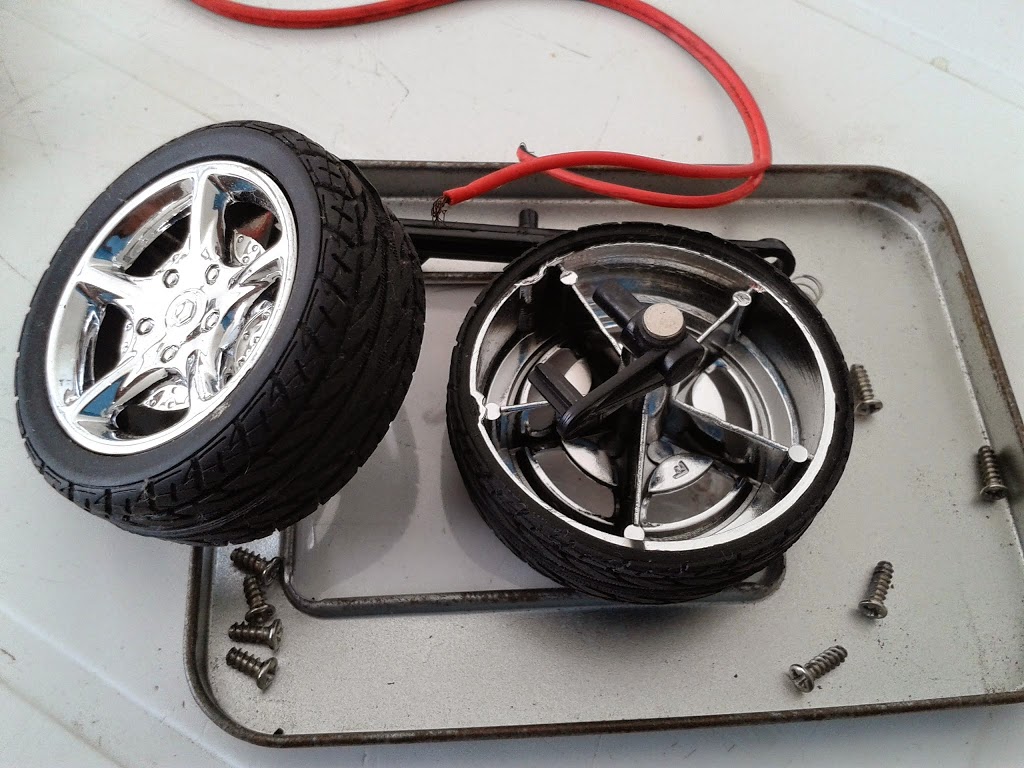
The wheels
Materials
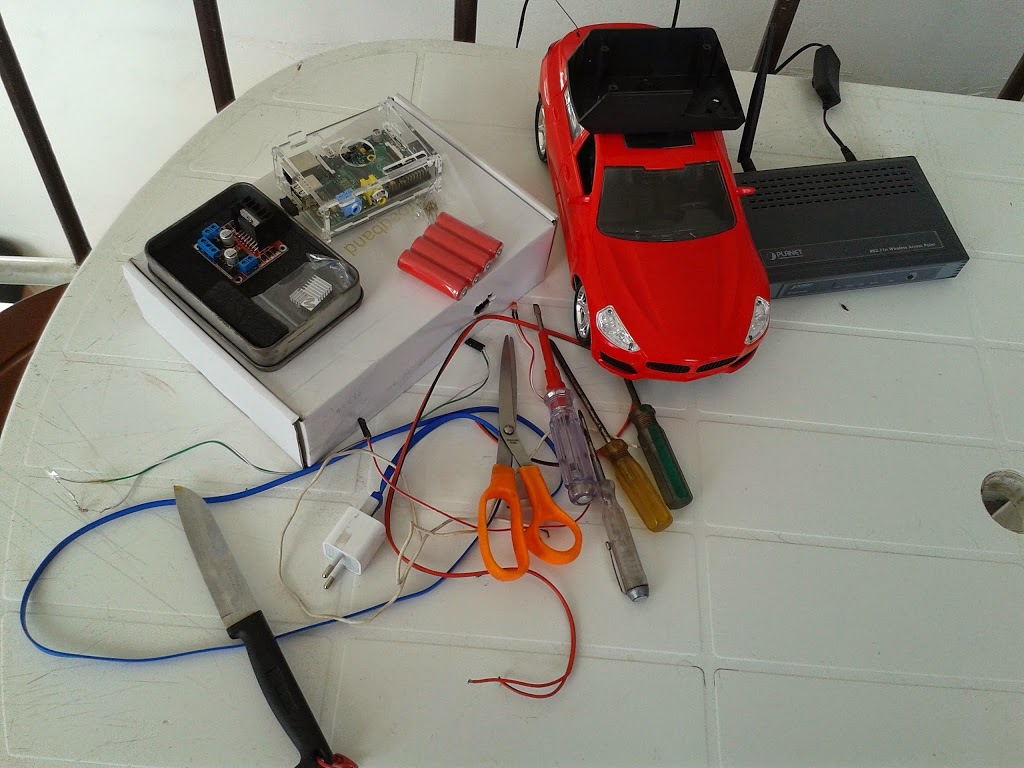
Materials and tools

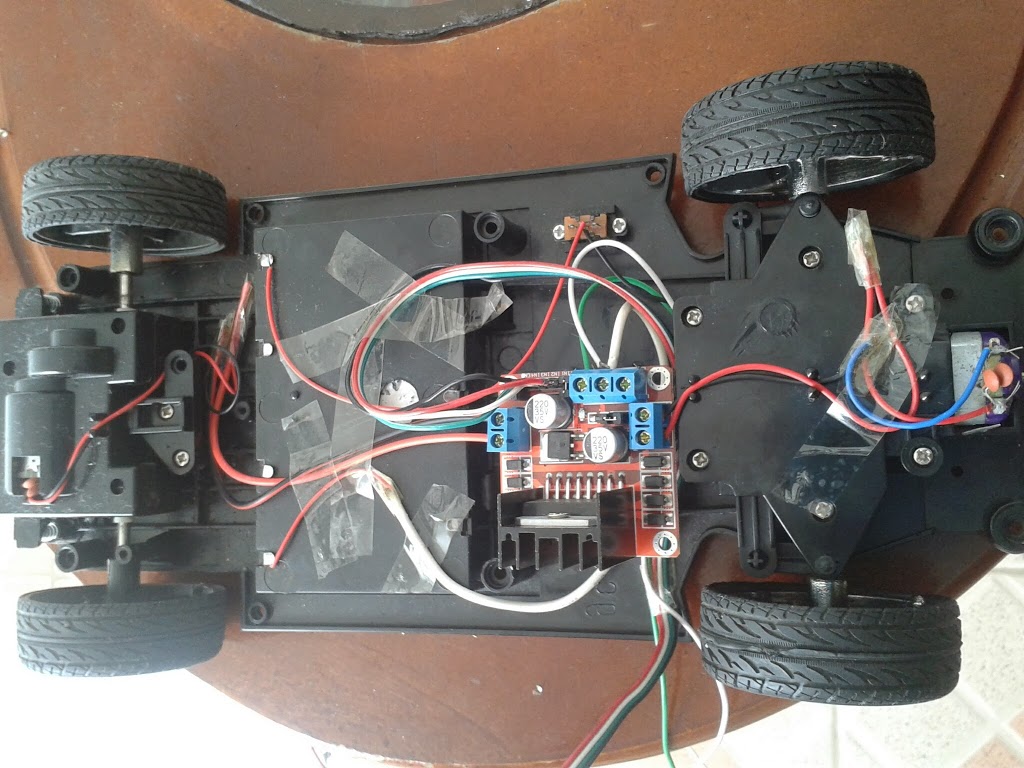
Connecting Wires to Stepper
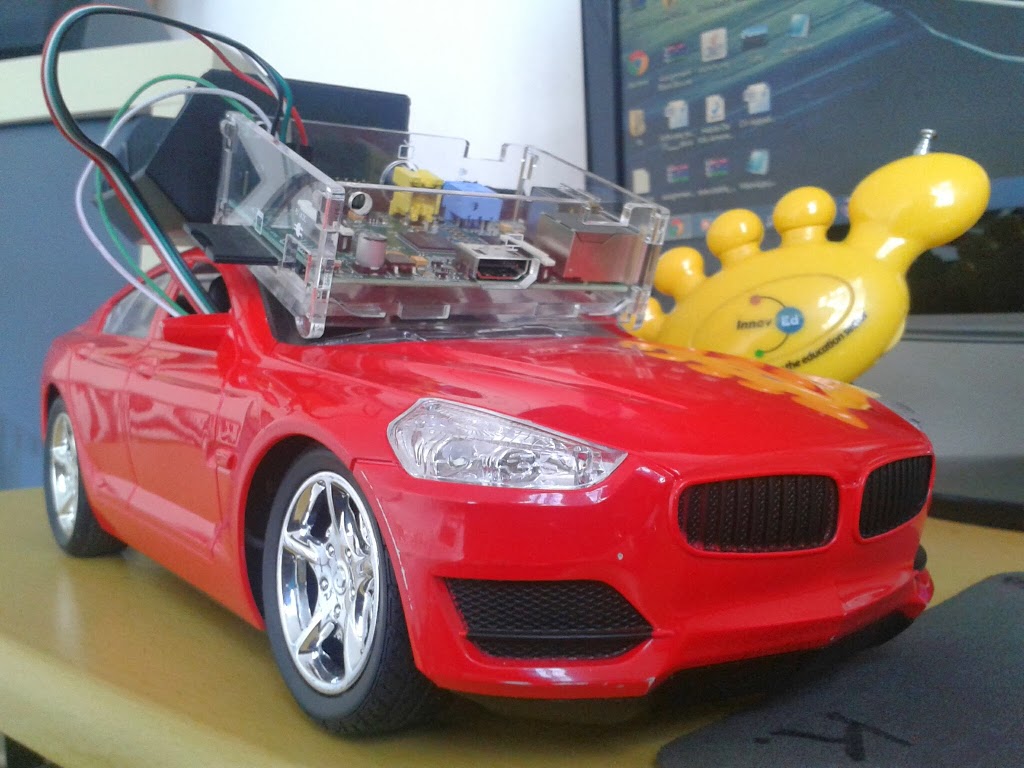
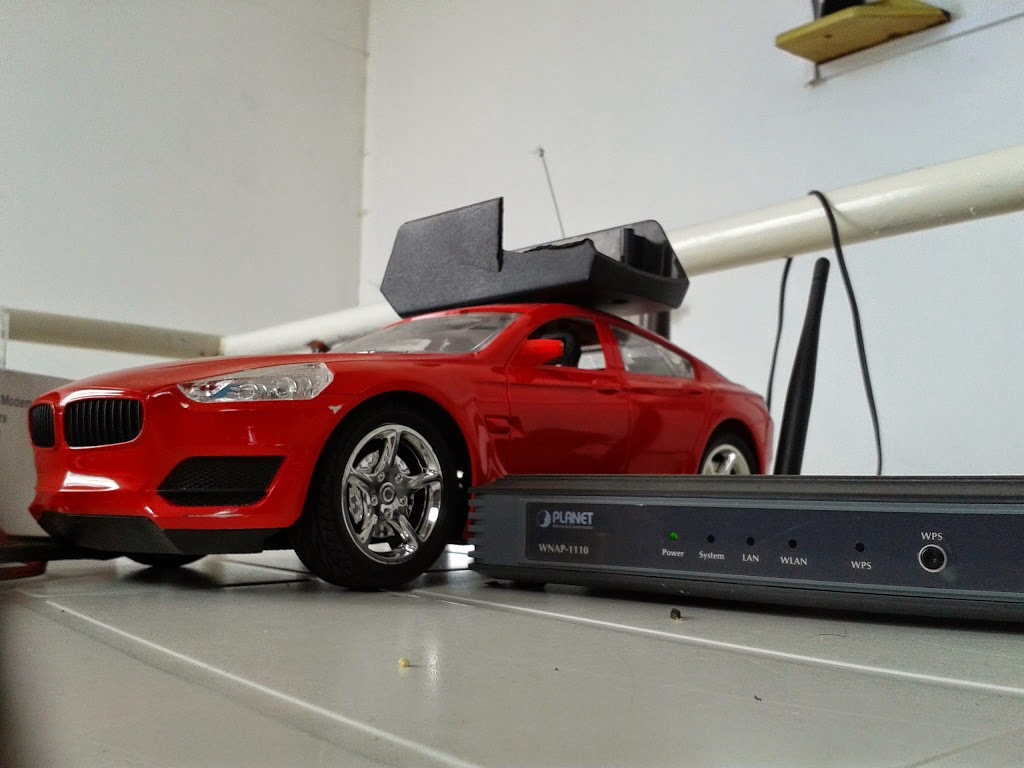
Final Result
When everything is hooked up, power on the raspberry pi and login into the default webiopi homepage
https://ip.com:8000 using default username and password
Controlled each pins on the web ;)
I have followed this guy from YouTube for a more detailed overview of the configuration and settings
here
More tweets to come 😀